VULTR.COM a cloud-like VPS hosting provider by Choopa. Its main virtualization technology is KVM and all their node servers are using SSD. With the strongest network and very strong CPU for every VPS. you will happy with your VPS in here.
View the newest VULTR COUPON CODE HERE
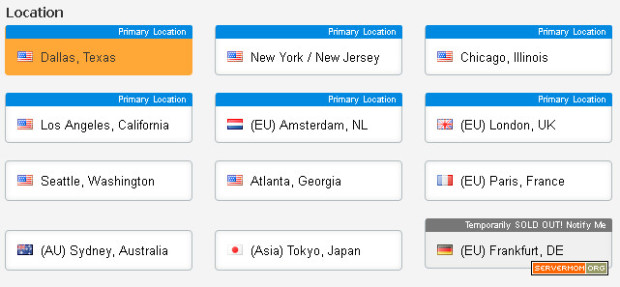
The main part that makes me feel interested (besides it is new) is its competitive price. Its smallest plan is purchase-able at $5/month, the same as DO but Vultr offers bigger RAM (768MB). Vultr offer wider location including 14 location oveer he world: 6 locations in US, 1 in Netherland, 1 in UK, 1 in France, 1 in Australia, 1 in Japan and 1 in Germany.
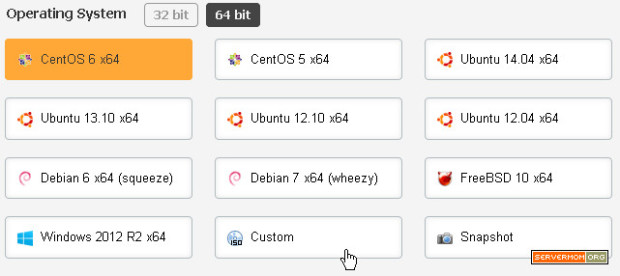
Vultr currently provides various .ISO image to boot your VPS to (or install on). Couldn’t find your favorite OS? Users of Vultr are also allowed to boot from Custom .ISO which can be uploaded via its remote upload interface with 5GB max file size.
Even the price is monthly but its billing mechanism is hourly billing which means you’ll only pay as you go or pay only for the time you use and cancel any time. That’s just the same as DigitalOcean and like many other cloud providers.
Today, VULTR COUPON will help you know how to creat a VPS/ Droplet/Instance with VULTR
How to Create a VPS on Vultr?
Building an instance (or a vps) is pretty easy. First, create an account at Vultr. Simply enter your email address and password. Once done, login to your account!

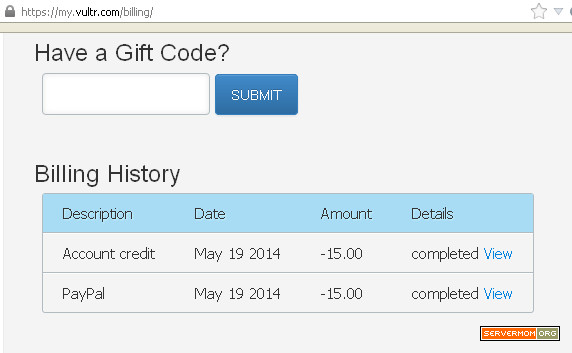
Step 1 – Obviously you’ll need to add fund in your account credit (balance). Simply click the billing tab and choose Paypal or Credit Card to make your payment.
Step 2 – Click on the Deploy tab.
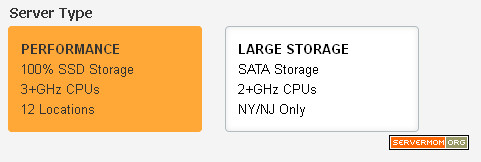
Step 3 – Choose your server type: PERFORMANCE or LARGE STORAGE. Please read carefully its information you’ll exactly know what’s the difference among them.
Step 4 – Now, you can choose the location you want deploy your server to.
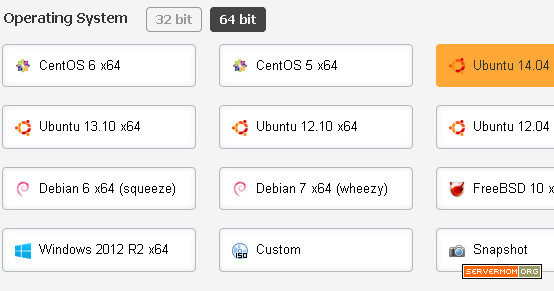
Step 5 – You must hoose the Operating System (OS) to run it on your server:
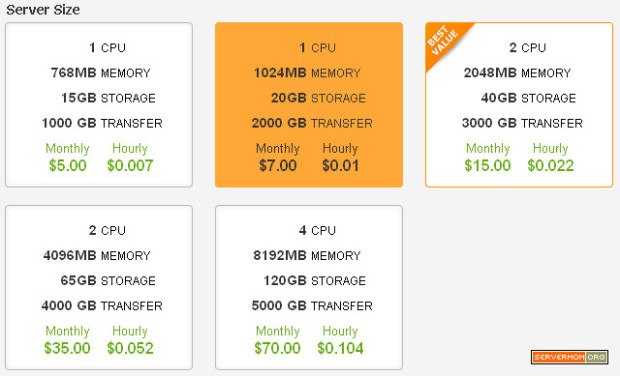
Step 6 – In the Server Size section. Chose CPU and RAM for your VPS/Server
Step 7 – When all upon steps done, hit the big blue Deploy button.
Step 8 – You’ll be redirected to the My Servers page and you’ll see the success message there.
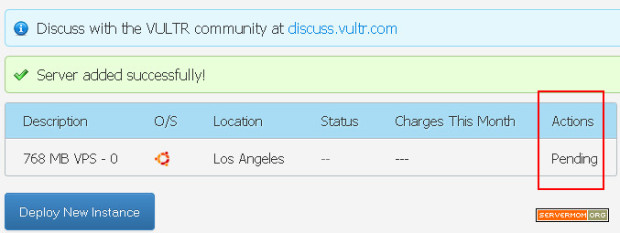
It should be created one or 2 minute to finish.
Step 9 – Refresh that page and when you see a green “running” text under the Status column. It means your server is ready to use.

Step 10 – Next, grab your root password in the Instance’s management page. Simply click the “Manage” link for that instance (the link under Actions section).
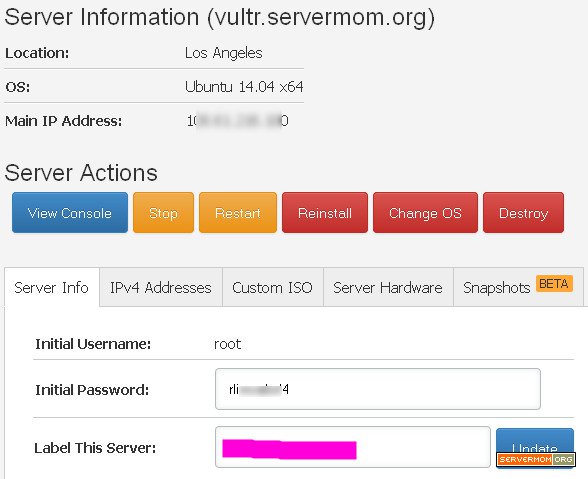
As you can see in that page you’ll find basic information of your server including Location, OS and Main IP Address. In the Server Info page you can also see your root password.
That’s it. Now you can bring up Putty or Terminal in your local PC and connect to your server via SSH at port 22 (default) using given IP address and given root password.
p.s: In that page you can also do some basic management tasks like to Stop, Reboot, Reinstall, Change OS and Destroy your vps.
Go to VULTR and Creat a VPS Now
