SSH Keys
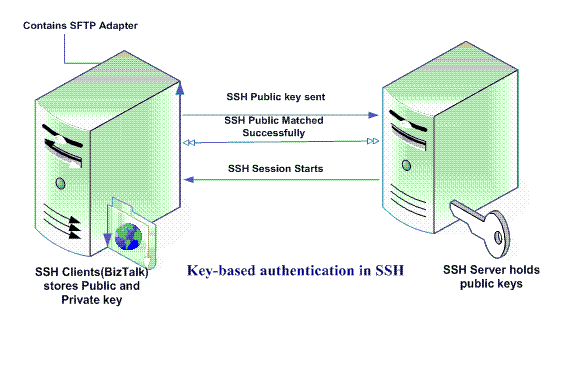
SSH Keys allow you to log into your server without needing a password. SSH Keys can be automatically added to servers during the installation process.
Creating a SSH key on Windows
The simplest way to create a SSH Key on Windows is to use puttygen.
- Download and run PuttyGen
- Click the ‘Generate’ button
- For additional security, you can enter a key passphrase. This will be required to use the SSH key, and will prevent someone with access to your key file from using the key.
- Once the key has been generated, click ‘Save Private Key’. Make sure you save this somewhere safe, as it is not possible to recover this file if it gets lost
- Select all of the text in the ‘Public key for pasting into OpenSSH authorized_keys file’. This is what you would need to enter into the control panel to use the SSH key
Creating a SSH key on Linux
The tools to create and use SSH are standard, and should be present on most Linux distributions
- Run
ssh-keygen -t rsa - Press enter when asked where you want to save the key (this will use the default location)
- Enter a passphrase for your key
- Run
cat ~/.ssh/id_rsa.pubThis will give you the key in the proper format to paste into the control panel. - Make sure you backup the ~/.ssh/id_rsa file. This cannot be recovered if it is lost.
Adding a SSH key to your control panel
- Once you’re logged in, go to https://my.vultr.com/sshkeys
- Click ‘Add SSH Key’
- Enter a descriptive name for the key
- Paste in your SSH public key. This is a long string beginning with ‘ssh-rsa’. You should have saved this from when you generated your key
- Click ‘Add SSH Key’
- Now, when you’re deploying servers you will be able to select which SSH keys you want to add to the newly deployed server.
Limitations
- SSH keys are only available for Linux and FreeBSD. They are not supported for Windows, Custom ISOs, nor Snapshot restores.
- SSH keys can only be managed from the control panel during deployment. You cannot use the control panel to manage them on an already-installed instance.
Source: VULTR
