These instructions will walk you through running a single CoreOS node. This guide assumes:
- You have an account at Vultr.com.
- The location of your iPXE script (referenced later in the guide) is located at
http://example.com/script.txt - You have a public + private key combination generated. Here’s a helpful guide if you need to generate these keys: How to set up SSH keys.
The simplest option to boot up CoreOS is to load a script that contains the series of commands you’d otherwise need to manually type at the command line. This script needs to be publicly accessible (host this file on your own server). Save this script as a text file (.txt extension).
Choosing a Channel
CoreOS is designed to be updated automatically with different schedules per channel. You can disable this feature, although we don’t recommend it. Read the release notes for specific features and bug fixes.
The Stable channel should be used by production clusters. Versions of CoreOS are battle-tested within the Beta and Alpha channels before being promoted. Current version is CoreOS 494.5.0.
A sample script will look like this:
|
1 2 3 4 5 6 |
#!ipxe set base-url http://stable.release.core-os.net/amd64-usr/current kernel ${base-url}/coreos_production_pxe.vmlinuz cloud-config-url=http://169.254.169.254/2014-09-12/coreos-init sshkey="YOUR_PUBLIC_KEY_HERE" initrd ${base-url}/coreos_production_pxe_image.cpio.gz boot |
Make sure to replace YOUR_PUBLIC_KEY_HERE with your actual public key, it will begin with ssh-rsa....
Additional reading can be found at Booting CoreOS with iPXE and Embedded scripts for iPXE.
Using Cloud-Config
Please be sure to check out Using Cloud-Config.
In particular, note that the $private_ipv4 and $public_ipv4 variables are only supported on Vultr if you have the ‘cloud-config-url’ option set on your kernel command line.
Without this option, you will need to hard code these values into your cloud-config file.
Create the VPS
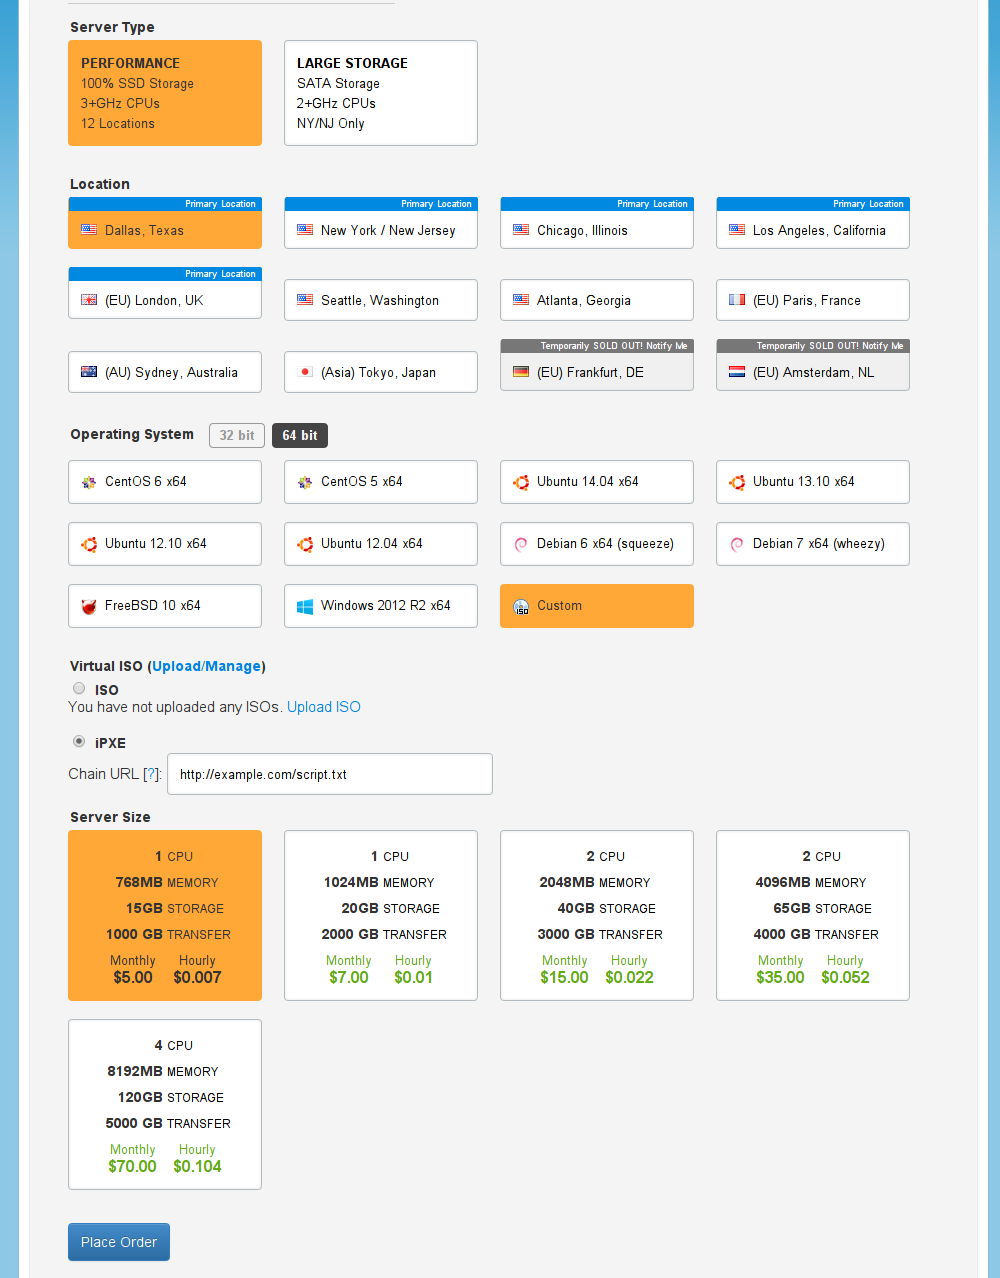
Create a new VPS (any server type and location of your choice), and then:
- For the “Operating System” select “Custom”
- Select iPXE boot
- Set the chain URL to the URL of your script (http://example.com/script.txt) Note: URL must be plain old HTTP, not HTTPS
- Click “Place Order”
Once you receive the welcome email the VPS will be ready to use (typically less than 2-3 minutes).
Accessing the VPS
You can now log in to CoreOS using the associated private key on your local computer. You may need to specify its location using -i LOCATION. If you need additional details on how to specify the location of your private key file see here.
SSH to the IP of your VPS, and specify the “core” user: ssh core@IP
|
1 2 3 4 5 6 7 8 9 10 11 12 13 |
<span class="nv">$ </span>ssh core@IP The authenticity of host <span class="s1">'IP (2a02:1348:17c:423d:24:19ff:fef1:8f6)'</span> can<span class="err">'</span>t be established. RSA key fingerprint is 99:a5:13:60:07:5d:ac:eb:4b:f2:cb:c9:b2:ab:d7:21. Are you sure you want to <span class="k">continue</span> connecting <span class="o">(</span>yes/no<span class="o">)</span>? yes Last login: Thu Oct <span class="m">17</span> 11:42:04 UTC <span class="m">2013</span> from 127.0.0.1 on pts/0 ______ ____ _____ / ____/___ ________ / __ <span class="se">\/</span> ___/ / / / __ <span class="se">\/</span> ___/ _ <span class="se">\/</span> / / /<span class="se">\_</span>_ <span class="se">\</span> / /___/ /_/ / / / __/ /_/ /___/ / <span class="se">\_</span>___/<span class="se">\_</span>___/_/ <span class="se">\_</span>__/<span class="se">\_</span>___//____/ core@srv-n8uak ~ <span class="err">$</span> |
